How To Make Grid In Illustrator
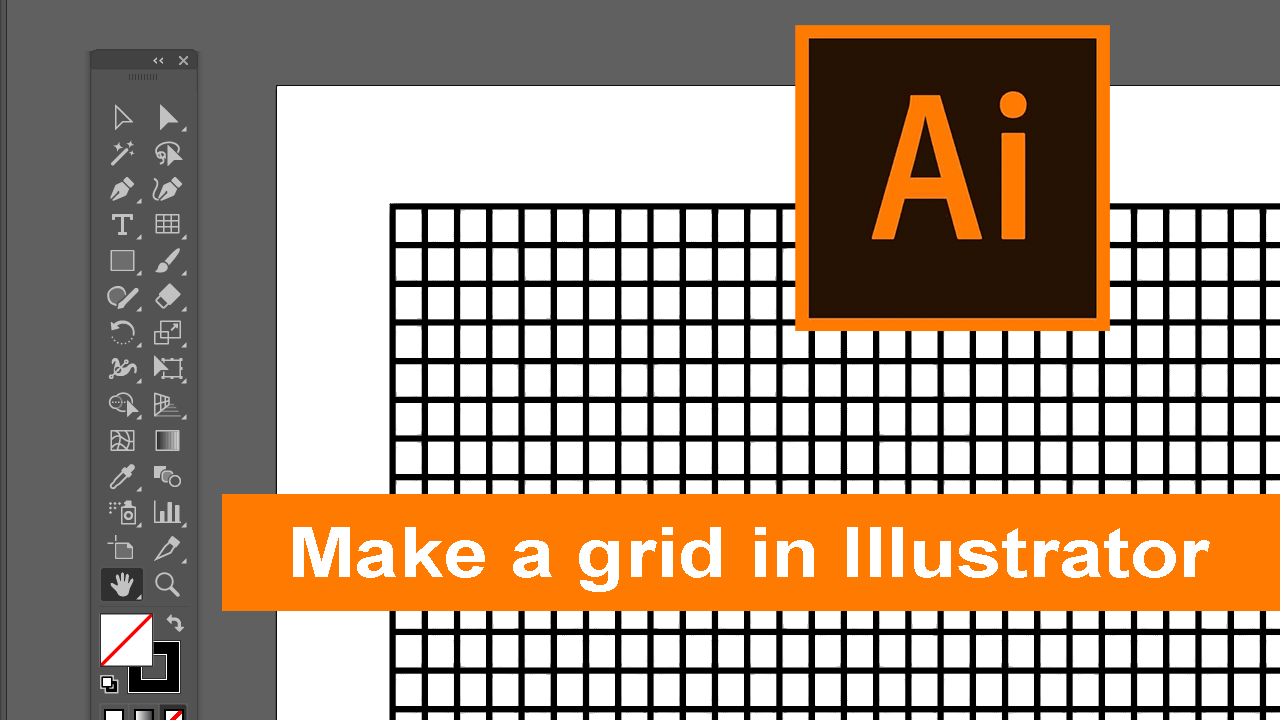
By asking this question you might mean how to add grid to the canvas in illustrator to plan out your designs. Or you mean how to make an actual grid object on canvas with a dynamic number of rows or columns. There is also a 3rd way of adding a grid to illustrator canvas artboard, and that's by splitting an existing object into a grid. In this how to make grid in illustrator tutorial, I'll show you the nooks and crannies of the process.

In this tutorial, we will be discussing how to add a grid in Adobe Illustrator.
A grid can serve multiple purposes in your design process. It can aid in aligning and positioning your artwork. It can also serve as a guide while creating complex designs and provide a structured framework for your illustrations.
Here's a video tutorial that will visually show you how to add grid in Illustrator:
This tutorial will offer you two different methods to add a grid to your Illustrator project. The first method is to use the built-in grid feature in Illustrator. The second method is to create a grid out of an object using the rectangular grid tool.
Let's start by adding a grid using the built-in feature of Illustrator. To do this, begin by opening Illustrator and creating a new project.

Next, go to the "View" menu in the toolbar at the top. In the dropdown menu, scroll down to the bottom and click on "Show Grid".

After clicking on "Show Grid", a grid will appear across your entire workspace.

Now that we've covered how to enable the built-in grid feature, let's move on to the second method - creating a grid out of an object using the rectangular grid tool.
First, locate the "Line" tool in the toolbar, click and hold on it to reveal the "Rectangular Grid Tool".

With the "Rectangular Grid Tool" selected, click anywhere on your canvas to bring up a pop-up window. In this window, you can specify the width, height, and the number of dividers you want both vertically and horizontally. After inputting your desired specifications, click "OK".

Upon clicking "OK", your grid will be added to the canvas as a new object. You can then move around the grid or resize it by dragging its corners.

Now, we have covered two ways to add a grid in Illustrator. This can greatly aid your design process by providing a structured guide for your illustrations. Aim to make the best use of these tools to enhance your design workflow.
- Open Illustrator and create a new project.
- Go to the "View" menu and click on "Show Grid" to enable the built-in grid feature.
- Use the "Rectangular Grid Tool" to create a custom grid.
- Specify your desired grid specifications and click "OK".
- Adjust the grid on your canvas by dragging its corners.
Articles Related To Illustrator Community
- How To Convert JPG or PNG Image to Path In Illustrator on 3 Dec 2023 by Ghost Together
- How To Create A Seamless Pattern In Illustrator on 3 Dec 2023 by Ghost Together
- How To Make Grid In Illustrator on 1 Dec 2023 by Ghost Together
- How To Show Toolbar In Illustrator on 1 Dec 2023 by Ghost Together
Last 10 Articles Written On Ghost Together
- How to use ChatGPT 5 for free? on 10 Aug 2025
- The dead audience dilemma on 16 Jul 2025 by Dean Tarisai
- xv on 24 Jun 2024 by AndrewOcean
- How to get started on 17 Dec 2023 by Kenya
- How To Make Characters In Midjourney on 14 Dec 2023 by Ghost Together
- How to make money online on 12 Dec 2023 by DRSMS313
- How To Make Consistent Characters In Midjourney on 12 Dec 2023 by Ghost Together
- Wildfires and Wastelands on 10 Dec 2023 by A. Stranger
- How To Download, Install And Activate Davinci Resolve Studio 18 on 10 Dec 2023 by Ghost Together
- How to use LUTs in Davinci Resolve 18 on 10 Dec 2023 by Ghost Together
Last 10 Illustrator Questions Asked On Ghost Overflow
- Ask your first Illustrator question! (Help us build the largest database of questions on any subject)

