How To Resize Video In Premiere Pro
Changing size of your video is as easy as saving it from Export controls using H.264 encoder

Resizing a video in Premiere is so common it should be part of your workflow
Resizing a video clip is a simple feature! But many Premiere Pro tutorials are for advanced users and often leave beginners empty-handed. By skipping most trivial things as obvious, but they’re not!
In this Premiere tutorial we’ll explore the best way to resize a video in Premiere Pro. By going to Premiere settings and changing width and height of the video in export pane.
There are other ways to scale a video within its original frame (without changing the actual size of the video) but I’ll cover that in a separate tutorial.
Here’s this tutorial in video format:
Video: How to resize video (change width and height) in Premiere Pro
Below is a transcript of this premiere tutorial for those who prefer reading.
Ok let’s get started!
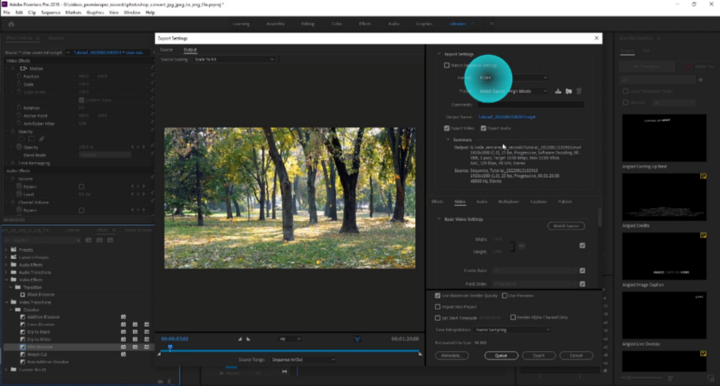
First go to File menu and go to Export.

(Go to File > Export)
On this Export Settings screen make sure H.264 (which is the classic MPEG 4 video encoding algorithm) is selected under the Format dropdown option.

Make sure to select H.264 on the Format dropdown menu:
(This is one of the few formats that allow you to determine custom width and height of your video output once it’s saved.)
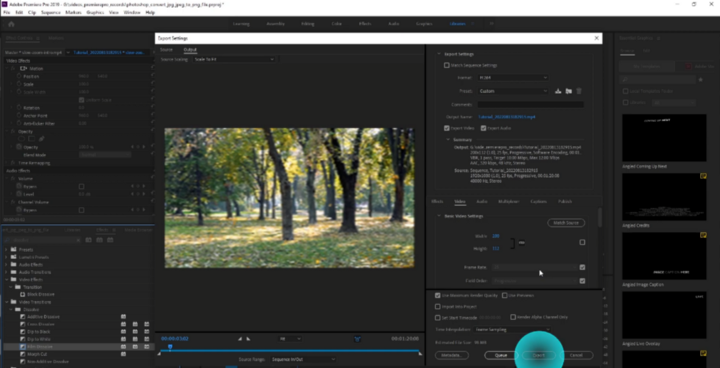
Next go to Basic Settings:

Open Basic Settings on the same pane.
And uncheck the first checkbox to the right to unlock video size settings:
Enter the width of what you want your video size to be.
(The height will automatically rescale)
If for some reason you don’t mind your video being improperly scaled (lose original aspect ratio) you can change width and height by clicking on chain link button and specifying any width and height not relative to ratio.
Now all you have to do is click on Export button.

Click Export button and your rescaled video will be saved to your hard drive.
That’s all there is to it.

