How To Run Python In VSCode On Mac OSX M1
Follow these instructions to install Python3 on your Mac M1 and learn how to execute Python files locally on your machine from Terminal.
In this tutorial we will edit a Python program in Visual Studio Code. But you can use any other editor.

In this tutorial I'm going to show you how to install Python 3 on M1.
Let's be honest M1 is just a processor. I'm using Macbook Pro but the same setup applies to Macbook Air or pretty much any Mac OS X operating system, even prior to M1.
What you're really looking for is how to run Python files from Terminal on M1 tutorial, if you don't want to read this article and think you're more of a visual speed-learner.
So let's go ahead and get started.
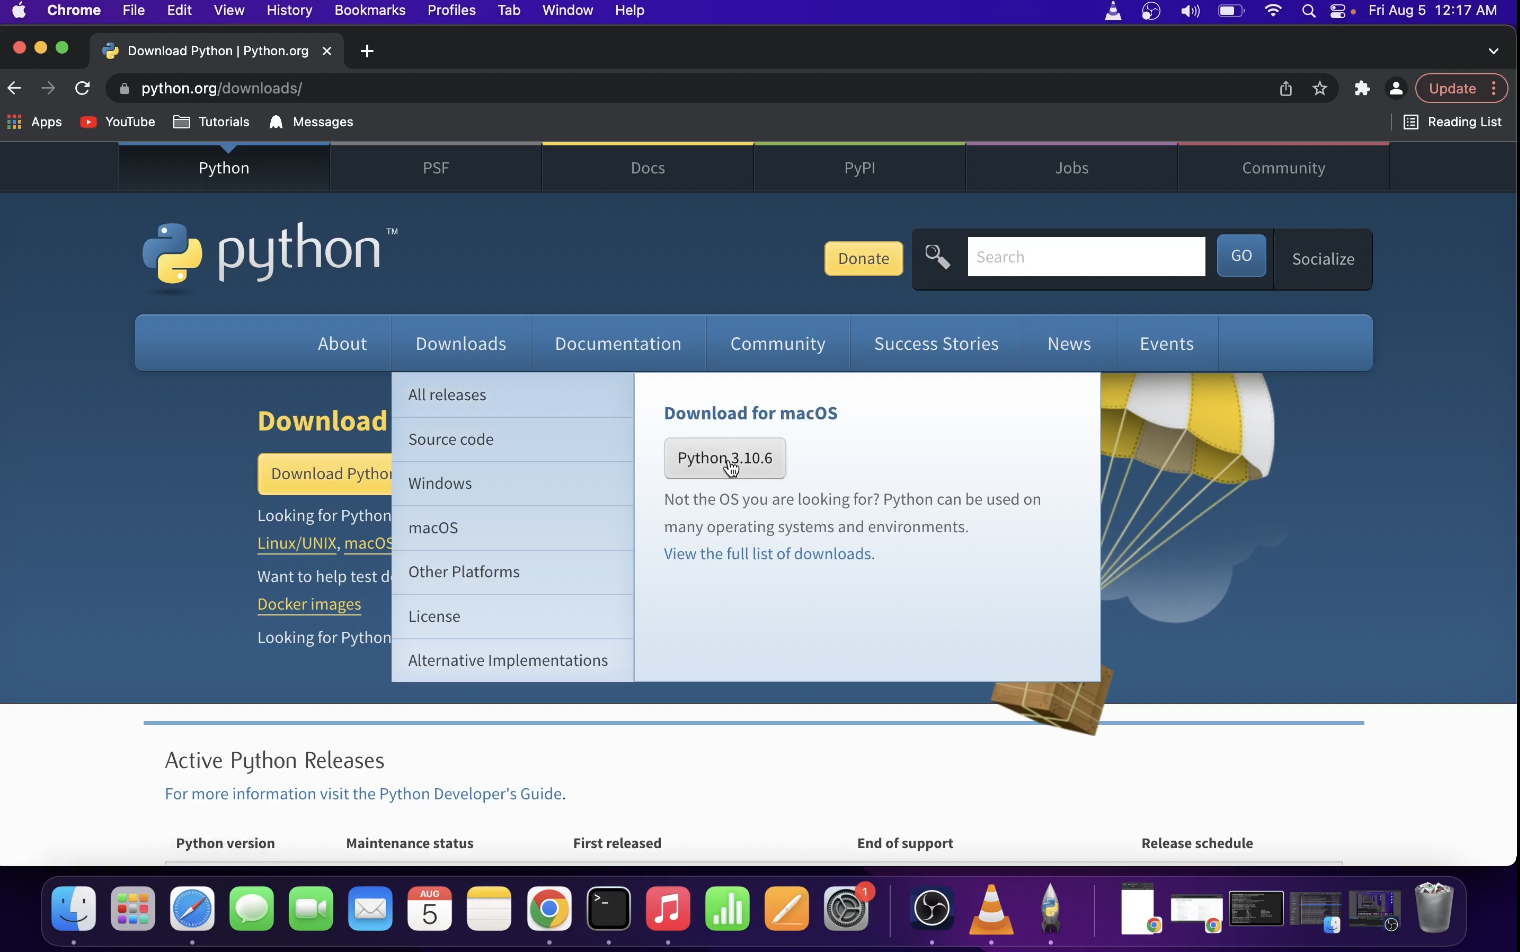
The first thing you want to do is go to your browser and type "download Python".
Find first search result and go to Downloads tab on the official Python website. This is the safest place to get the latest version of Python currently available.

Click on the gray download button and browser will start downloading the package into your "Downloads" folder.
Once file appears in your browser's download area, go ahead and click on the small arrow next to the download button and click "Show In Folder" option.
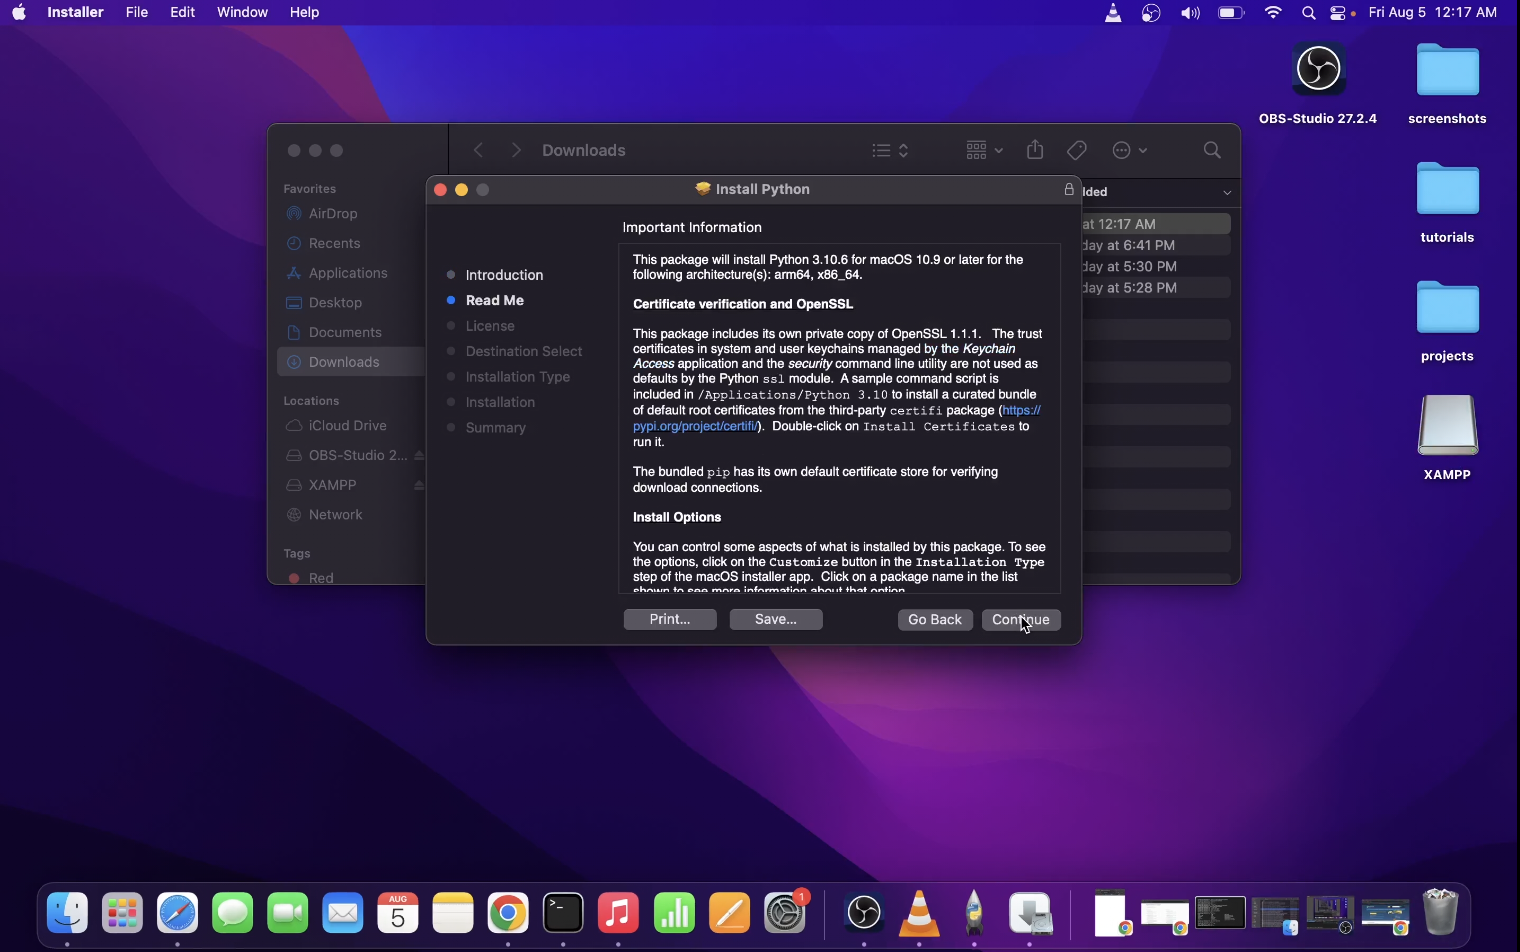
Then double click on the Python installation package file that we just downloaded.

Now just go through the installation process, hit continue button, agree with the terms and you might have to enter your admin password. Then just wait until all of the python files have finished installing.
Now once Python3 is completely installed you'll see this folder pop up just don't do anything on it!
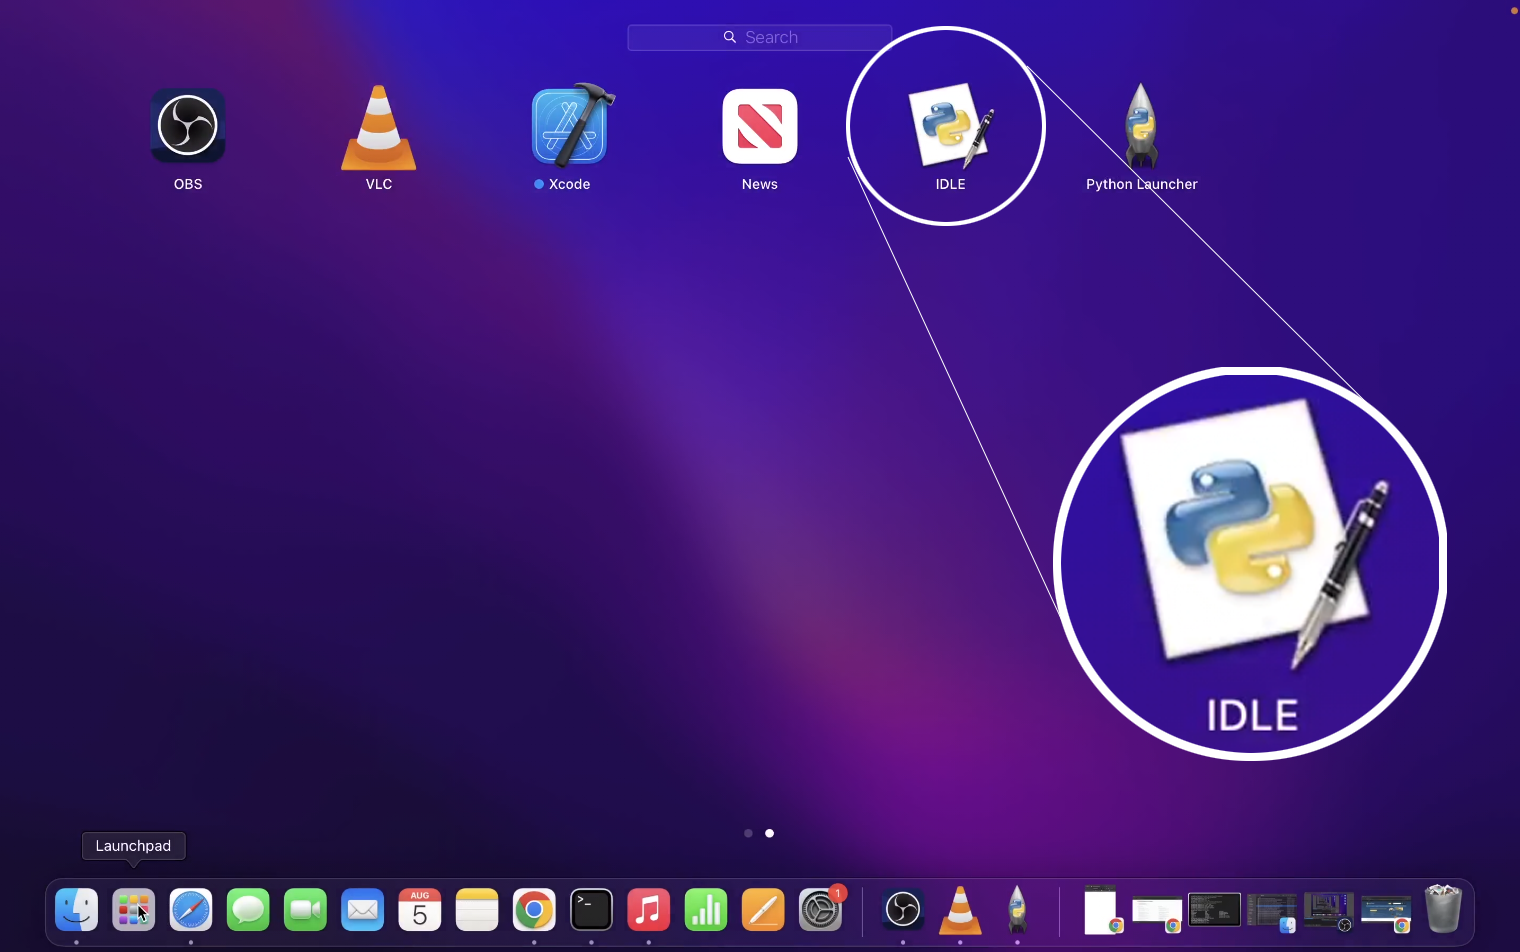
Instead go to your Mac's LaunchPad and you'll notice this new application called IDLE.

Go ahead and click on it to launch IDLE.
What is Python's IDLE?
IDLE is pronounced just like the word idle in an "idle car engine".
It was named IDLE after a character from Monty Python. But I'm not going to go deep into that in this tutorial.
IDLE is a Python environment that allows us to run Python code so basically it's a Python Shell.
IDLE is a lot like the Terminal or Command Line interface (CLI) on the Windows.
Anyways I'm going to type a basic Python command and print out some text directly into the IDLE Shell and then I'm going to hit enter.
As you can see we have just executed an actual Python command.
Let's now try to do 100 plus 100 and you will see the result is 200, so basically that's the result of a python statement.
So at the very basic this is how you run Python code on Mac OS X M1.
How To Run Python From Mac OS X Terminal
You can also run python 3 code directly from Mac OS X terminal so let's go ahead and try that.
I'm going to open a new terminal window and first what i'm going to do is i'm going to see which version of python i have installed. So i'm going to type:
python --version
You'll notice that Python version here is 2.7 that's not what we downloaded actually this is the Python that already comes with mac os x. The command to execute python 3 is actually python3 and we can check its version by typing python3 --version in Terminal.
So this is 3.10 and that's the version that we installed.
Here just make sure you understand that it's possible on the mac os x to have two different versions of python
installed. This is totally normal and it's usually done for backwards compatibility with older software.Now i'm going to navigate to a folder using the cd command where i already prepared a python file that i want to run it's located on Desktop in my projects folder in my Python folder. The file is named vscode.py and in order to write this file all i have to do is just call python vscode.py command in Terminal.
Basically it just prints something out.
I can also use python3 command in the same way so these are two different pythons executing the same python file with no problem because the print command with parenthesis is the same in both versions of Python.
What you probably really want to do from here on is to install Visual Studio Code (VSCode).
I already have vs code installed on my mac so i'm going to go ahead and open it from my Applications folder and in order
to do that i'm going to go and open my finder here i'm going to locate my Applications folder andclick on Visual Studio Code.
Now i'm going to open a folder with my Python project i already created it before starting this tutorial so i'm
going to go into projects in python folder and here i have my vs code dot PY file.I'm going to go ahead and open it.
The python's print function is going to print out a simple message.
I'm going to execute this file by typing python vscode.py again and hit enter.
As you can see i printed out the hello message.
You can do exactly the same thing with python3 and again it's going to run this python file now the way you want to set up your python environment in vs code is you want to go to extensions and type "python" in VSCode extensions search. So click on the first search result.
I already have it installed but basically click the install button here and this will install all kinds of
development tools for working specifically with python in visual studio code.So again guys it doesn't really matter if you have mac os x m1 macbook pro or macbook air, let's say.
The process is really exactly the same even on previous versions of osx and because m1 is really just a processor it has no effect on the installation process.
But you probably searched for installing Python on M1 simply because it's the laptop you have.

