How To Create WebView App From Your PWA, Build APK File And Run It In Android Studio Emulator

Making a WebView App has its pros and cons. You might not get 100% native features by converting your PWA into a WebView App. But it can get pretty close.
One advantage of using a WebView wrapper around your website URL (which should be built as a PWA) is you can publish it in Google Play store, without having to code it in a native development environment.
This tutorial is a transcript of my video tutorial, you can watch it below:
How to build a WebView App In Android Studio (for publishing on Google Play store)
In this tutorial I’m going to show you how to build your own Android WebView App using Android Studio for publishing your app in Google Play store.
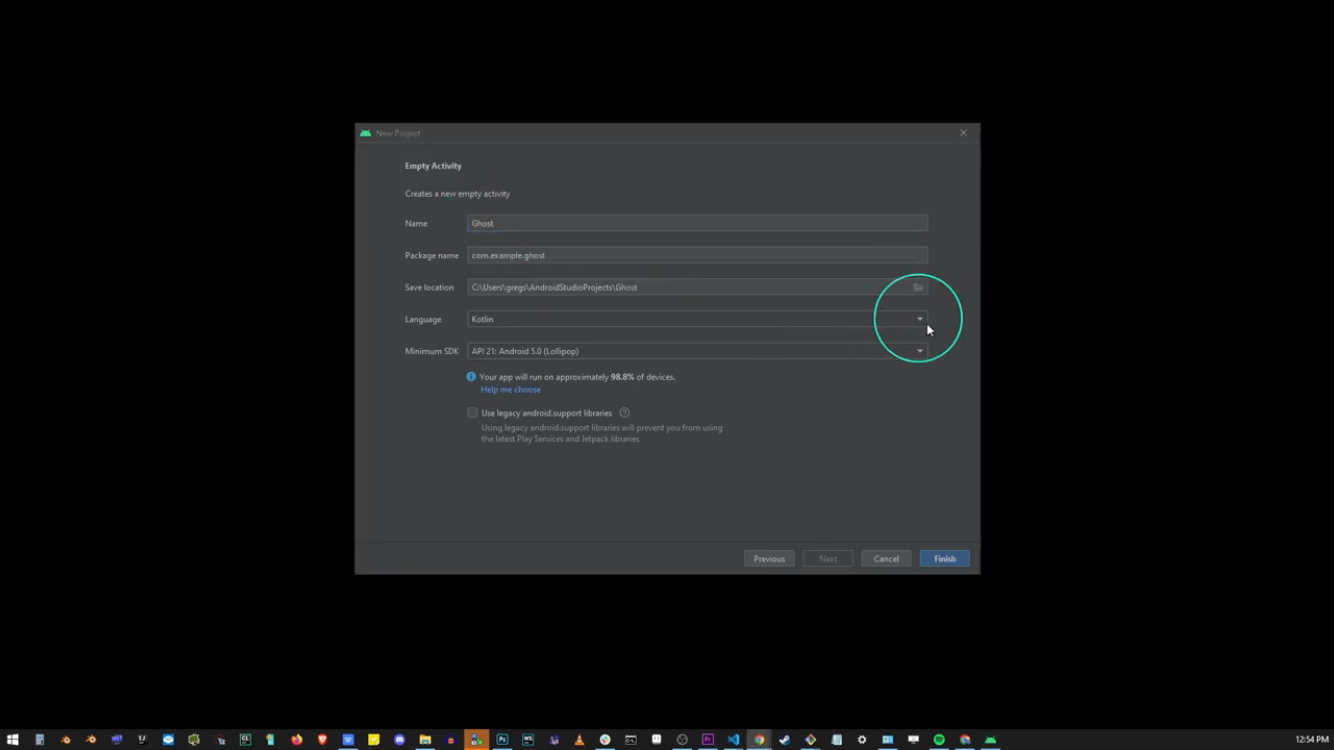
Let’s go ahead and open a new project in Android Studio and select Empty Activity project, click Next button and create a name for your application.
In this, drop down over here change Kotlin to Java:

Go ahead and click Finish button and it’s going to take a while to install.
Now that the installation is completed, click on the Finish button.
If the Windows Firewall box shows up just click Allow Access.
Now it’s going to take a while for android studio to download gradle, so just wait for that to happen, you’ll see progress bar in the lower right corner.
Once the resources have finished downloading. In the upper left corner go to manifest folder and click on androidmanifest.xml file in the tabs.
So here what you want to do is type:
<uses-permission android:name="android.permission.INTERNET"><uses-permission>
Make sure the word INTERNET is in upper case letters and close the </uses-permission> bracket.
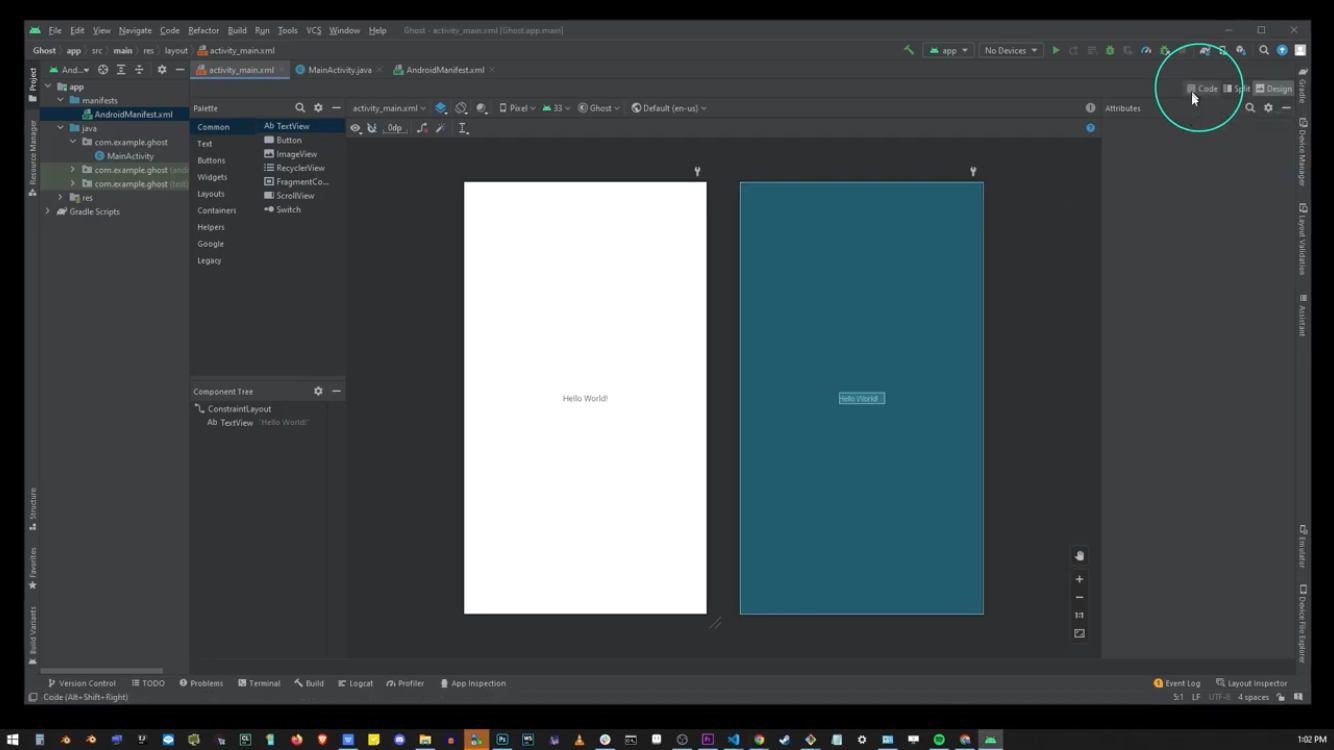
Now in the upper left corner of Android Studio editor, select the ‘activity_main.xml’ file, and you’re going to open the following view:

Open up and from this page in upper right corner click on code. This is going to bring up this file.
more coming soon...

